Building a custom Retarus SMS connector on SAP® BTP Integration Suite
Creating a custom Retarus SMS connector on SAP BTP Integration Suite enhances SMS messaging automation and simplification. This connector integrates seamlessly within the SAP environment and ensures data security, regulatory compliance, and real-time SMS data synchronization.
Overview
To incorporate Retarus Enterprise Cloud products, such as Enterprise SMS (SMS4Applications, REST API), into the SAP BTP tenant environment, two key components are required:
Access to Retarus SMS
To gain access, create and instantiate a custom connector for Retarus SMS. As a result, an SAP-native cloud URL will be provisioned, enabling access to Retarus SMS directly from within SAP. This tutorial provides step-by-step instructions on how to set up the connector.Integration of web service methods
The main purpose of the integration is to transform SAP content into the required SMS REST API request headers, properties, and JSON payload for job transmission. This tutorial does not go into detail on the integration process.
Tip: To become familiar with the Retarus SMS REST API, launch the Swagger UI and run some tests (the login ID, username, and password for Retarus SMS are required).
Prerequisites
SAP BTP
The SAP BTP cloud tenant ID and the password (also referred to as cloud secret) are available. When gaining access to an active instance of the integration solution, they are required to set up basic authentication.
The essential information can be found in the API documentation’s curl statements. The service instance can be accessed using the unique SAP cloud URL provisioned within the operating service instance.SAP BTP (Business Technology Platform) is operational.
SAP BTP Integration Suite is operational and has the following enabled capabilities:
- Open Connectors
- Cloud Integration (optional)
- API Management (optional)
Retarus
An active Retarus test agreement, proof of concept (PoC), or contract must already be in place and activated through a customer or developer account.
If a test agreement is required, fill out the contact form or speak with a Retarus representative.Account credentials (also known as “Login ID”) with a username and password.
Each Retarus customer typically has a single primary identifier for all booked services - the customer number. Multiple login IDs can be created for the same customer number (or tenant). This makes it possible to create different processing configurations to accommodate different people, departments, or purposes.
Building a custom Retarus SMS connector
Importing an API specification
The required actions are described “from scratch,” but SAP may provide pre-built packages or artifacts that include the connector and the integration flow for download.
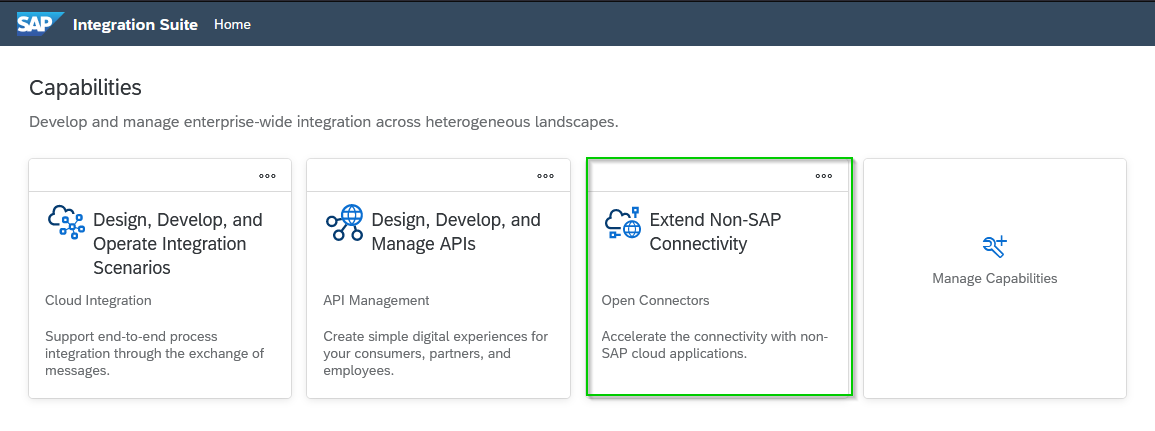
Open the SAP Integration Suite Home page, and select Open Connectors.

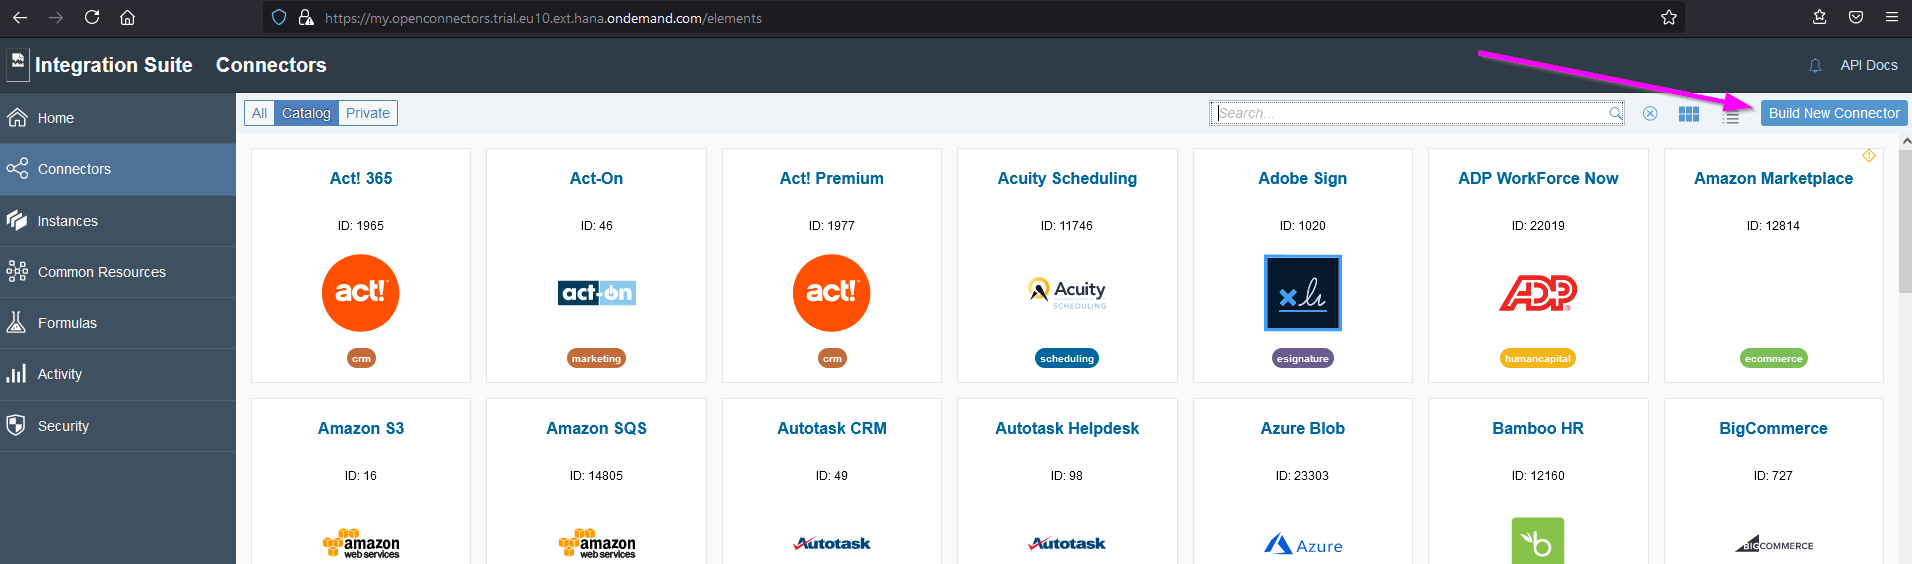
In SAP Open Connectors, navigate to the Connectors page, and select Build New Connector.

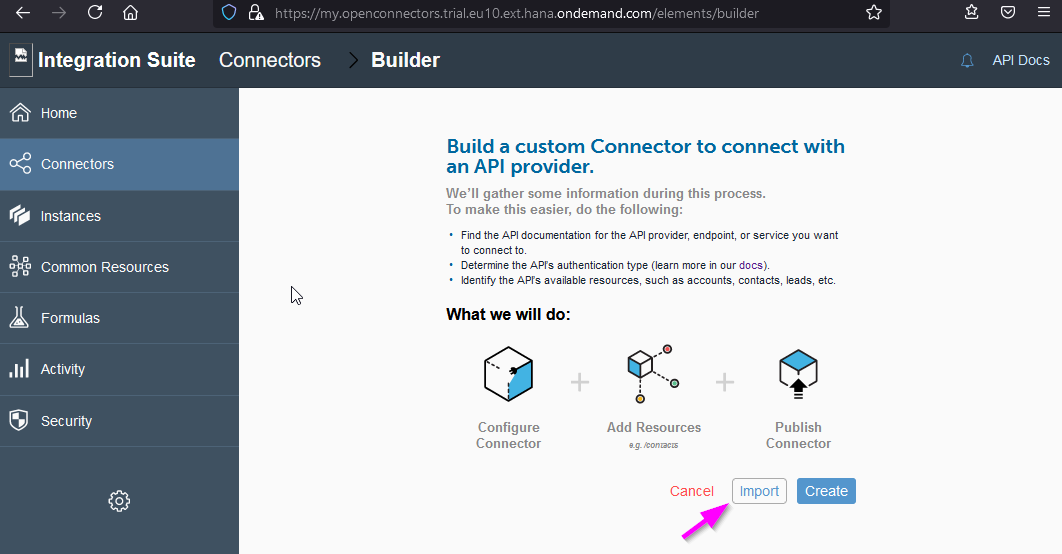
Select Import.
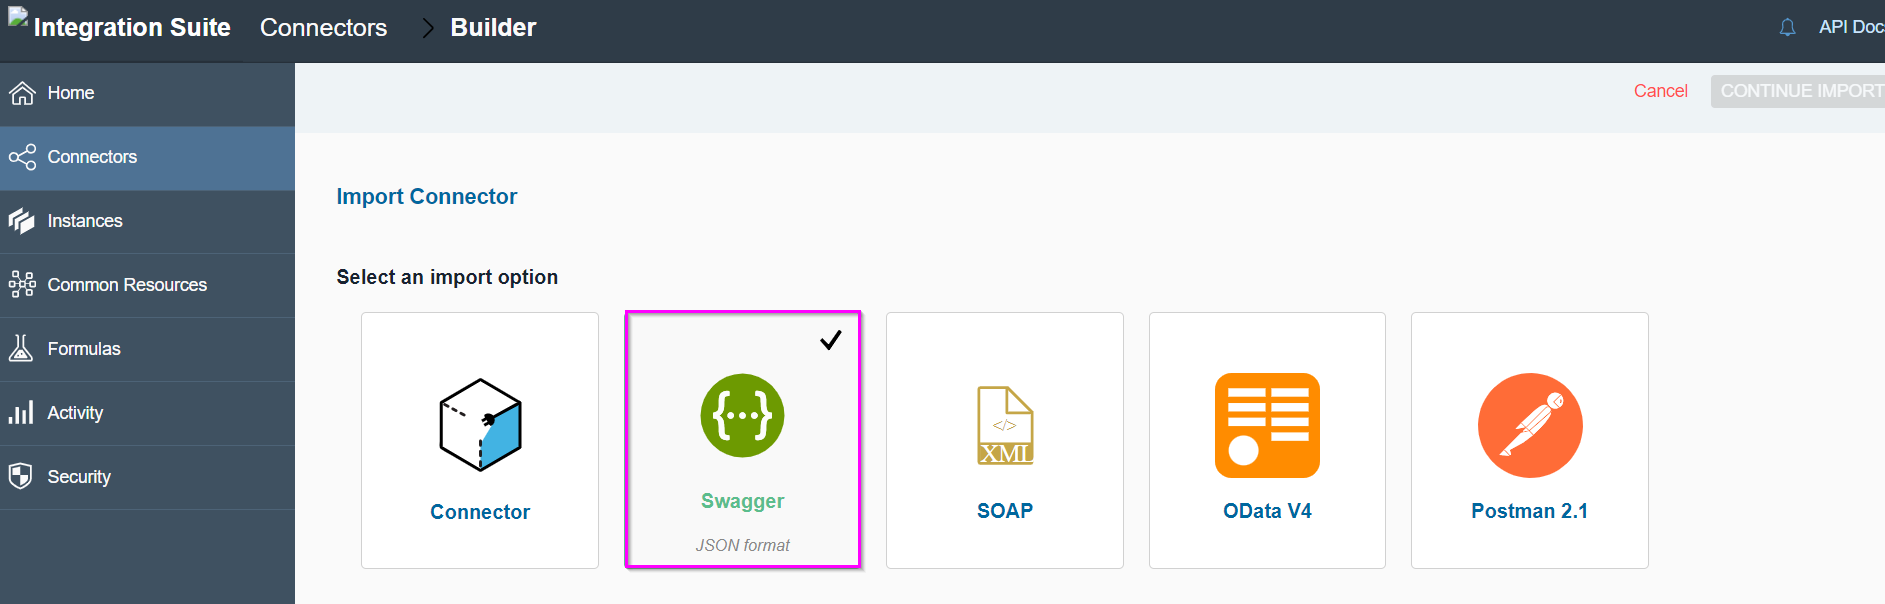
Retarus SMS comes with a defined Swagger/OpenAPI specification. This specification can be used to make the service and its methods available within SAP easily and with minimal effort.
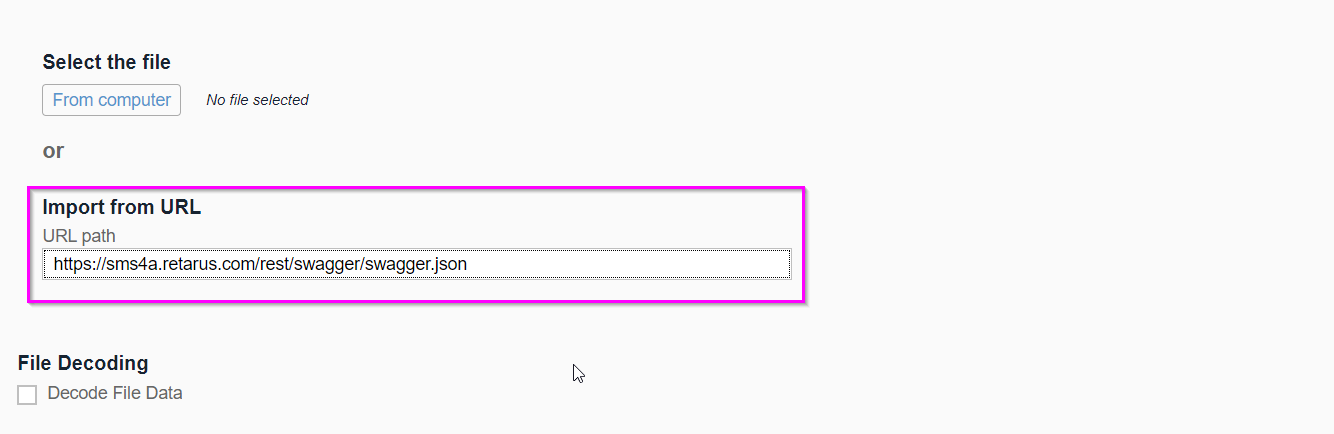
Select Swagger.

Navigate to the Import from URL field, enter https://sms4a.retarus.com/rest/swagger/swagger.json , and select Continue import in the upper right corner.

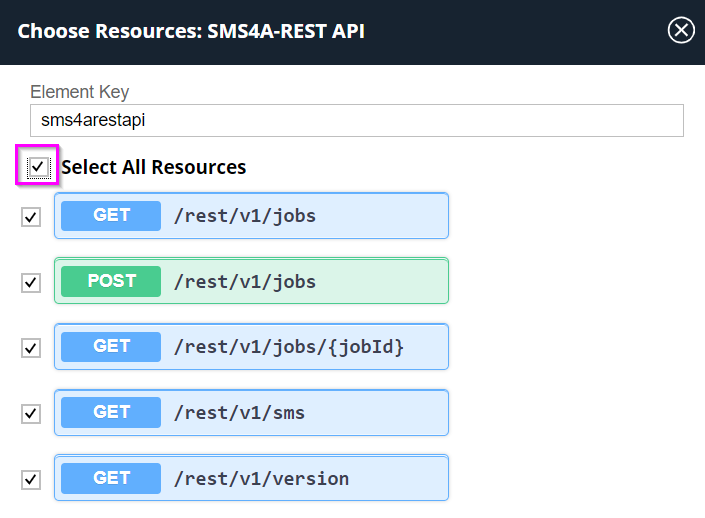
The REST resource selector is displayed. Select all resources that you want to be accessible using the connector. This option can be used to hide ‘out of scope’ REST resources from SAP users, without modifying the service itself.

In this example, select the Select All Resources checkbox, and then select Import in the lower right corner.
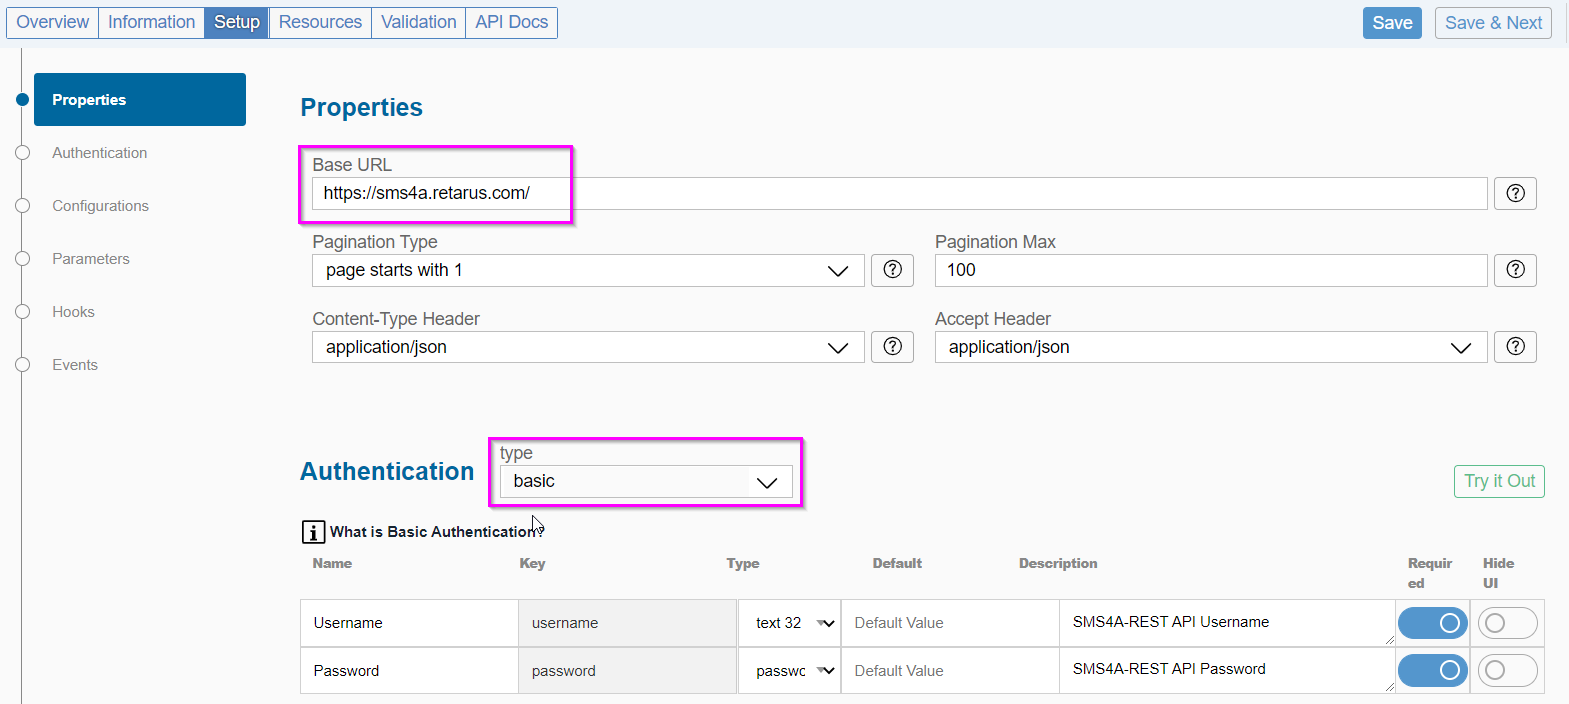
The connector configuration page with the Setup tab opens.
Enter the Base URL for Retarus SMS - https://sms4a.retarus.com/ .
Choose basic as the authentication method. This authentication requires the username (also known as login ID) and password.
Select Save.
Note: It is not necessary to provide the username and password in this step. These details can be entered while starting a running instance of the connector, which is described in the following section.
In the Information tab, the connector can be enhanced by giving it a meaningful name, such as the raw service name and protocol, and adding a brief description of the service.
Starting a connector instance
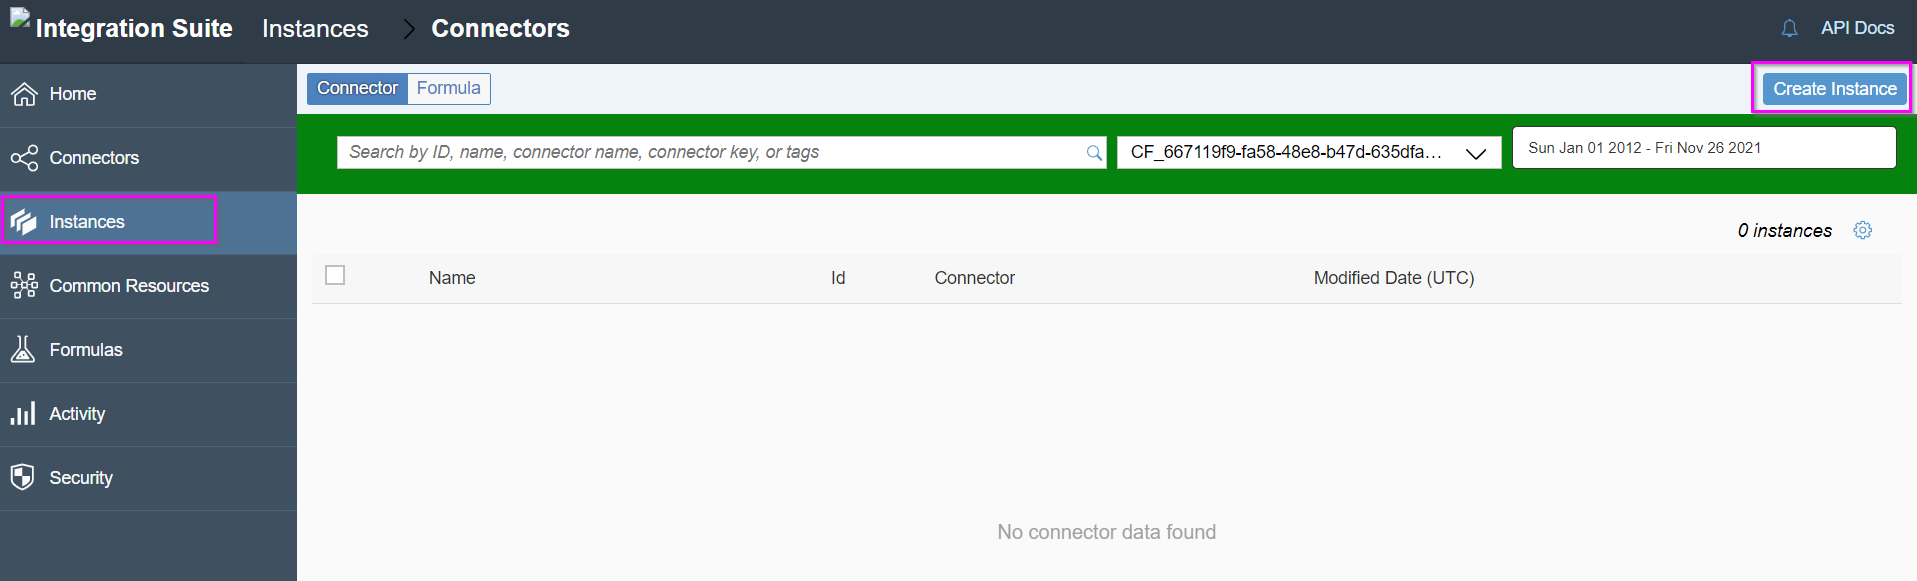
Now, the new connector should be turned into a working instance. As a result, it will become available via a SAP-native cloud URL with REST resource suffixes.
On the Integration Suite - Connectors page, select Create Instance.

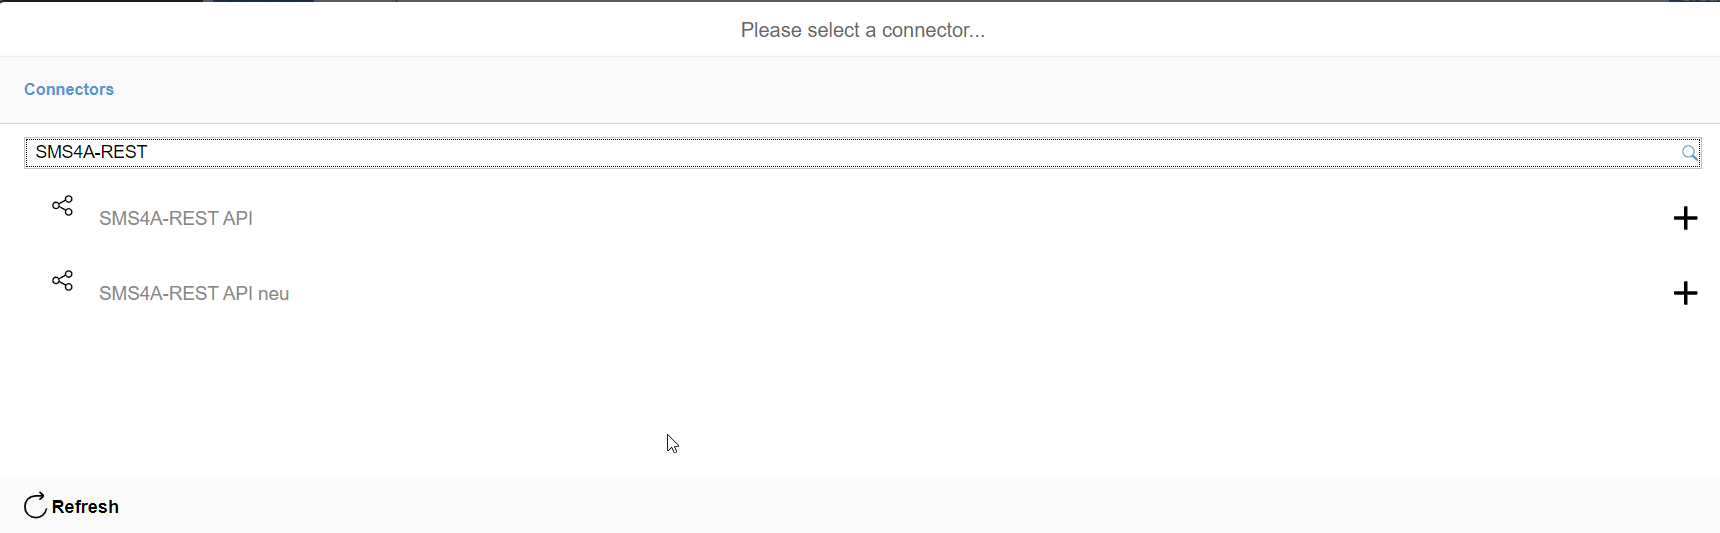
The connector search widget opens.
Search for and select the previously created connector.

After choosing the connector, an instance initialization dialog appears.

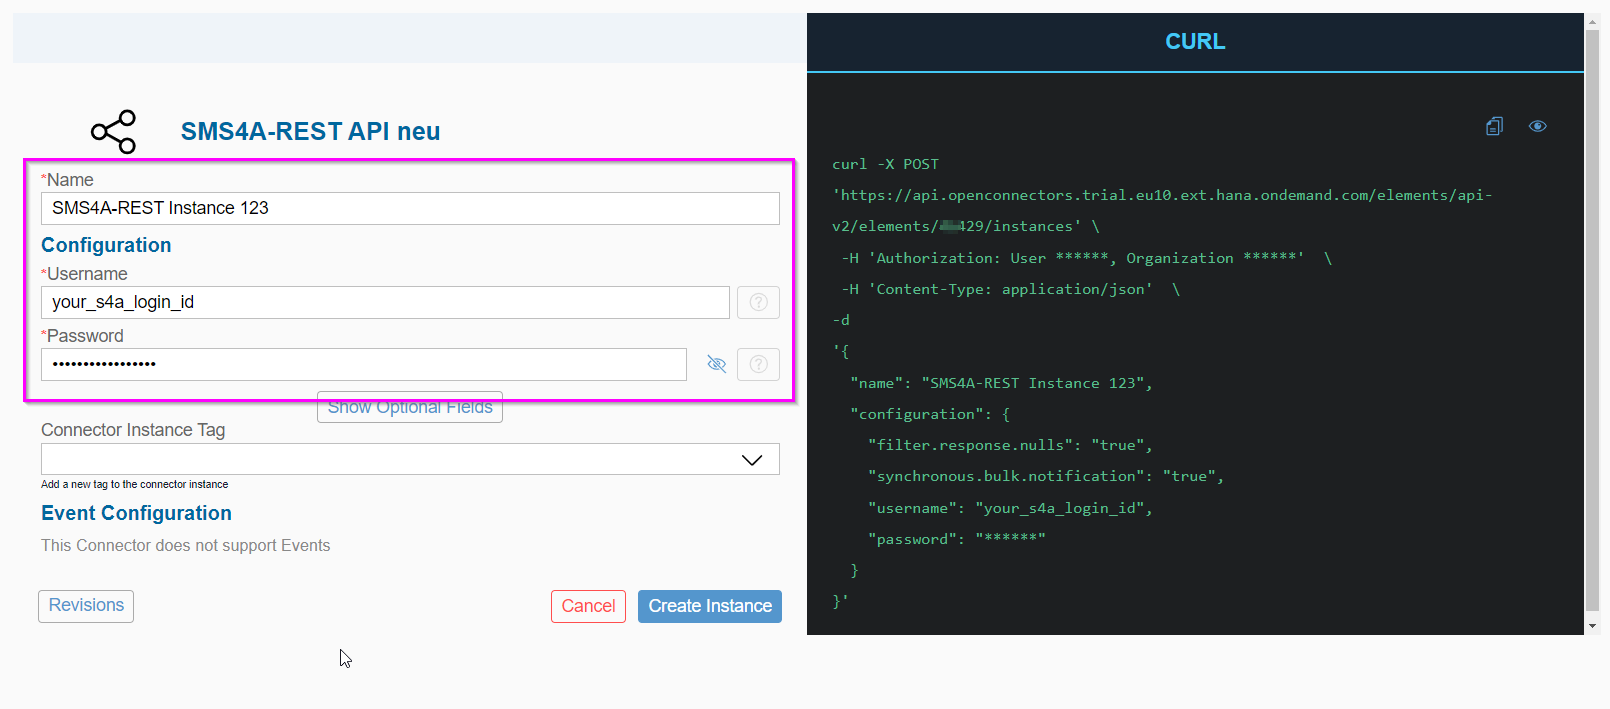
Enter the following information:
Name: The name of the currently running instance, which will be displayed in the instance overview later.
Username and Password: The Retarus SMS login ID credentials obtained from Retarus.
Note: A curl representation is also shown, which may be beneficial for future automation. curl is not required at this stage and can be skipped.
Tip: To make troubleshooting easier during setup, check the login ID and credentials beforehand on the official Retarus Swagger page .
Select Create Instance.
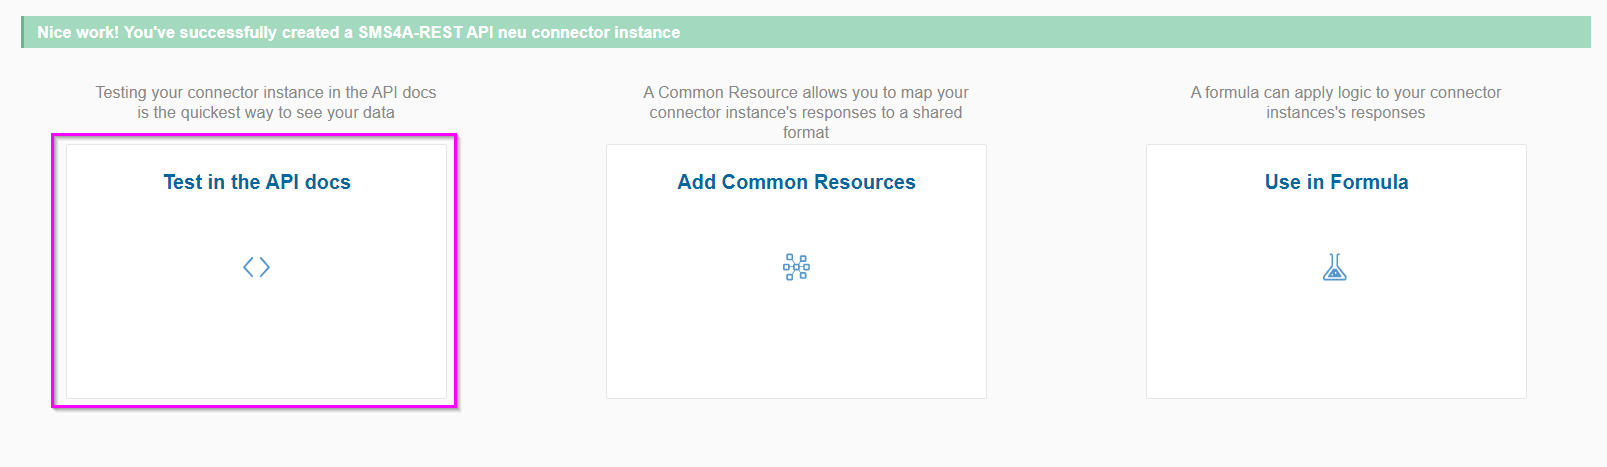
The connector should now be instantiated and running.

Select Test in the API docs to test the connector instance.
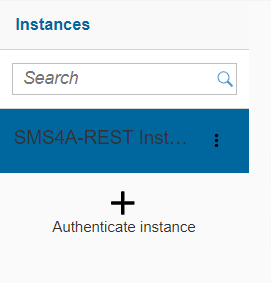
The blue box indicates the currently selected and authenticated instance.
Verifying the connector’s connection
Navigate to the GET /rest/v1/version resource, select Try it out, and then Execute.
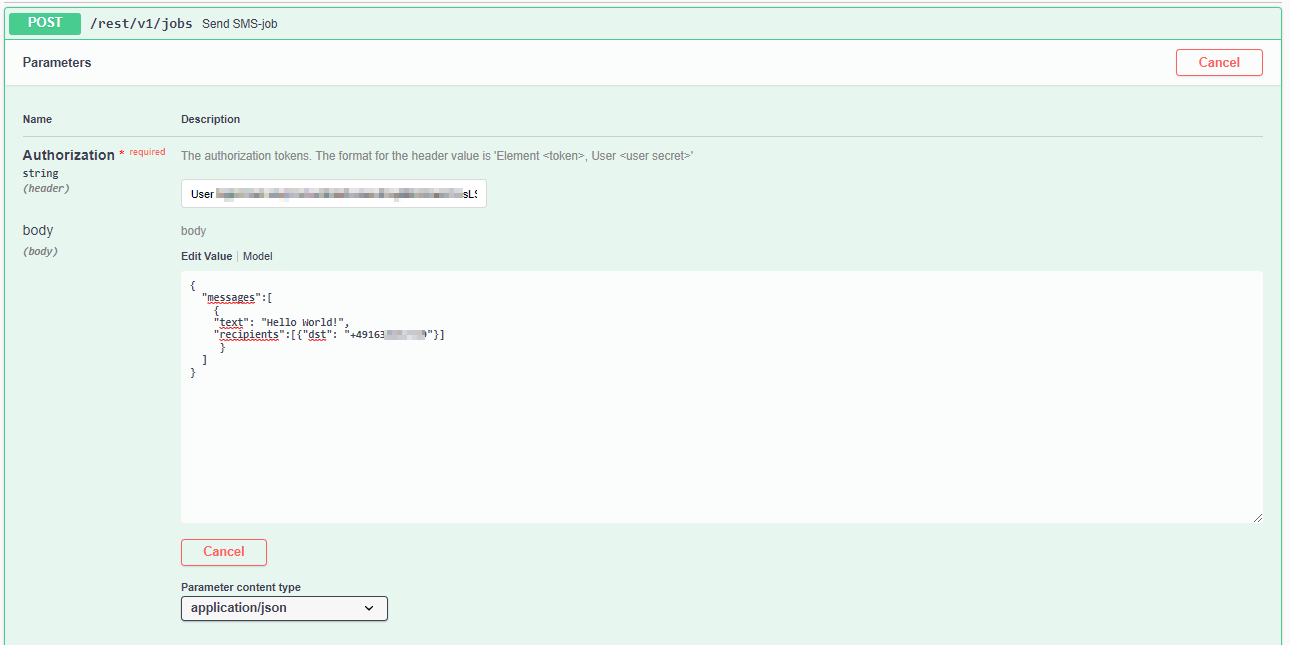
The response payload should contain a successful response (code 200) along with some service version information.Navigate to the POST /rest/v1/jobs resource, and select Try it out.
In the Edit Value field, enter and modify a simple job similar to the one below, including the appropriate mobile phone number, and then select Execute.
{"messages":[{"text": "Hello World!", "recipients":[{"dst": "+49160xxxxxxxxxx"}]}]}
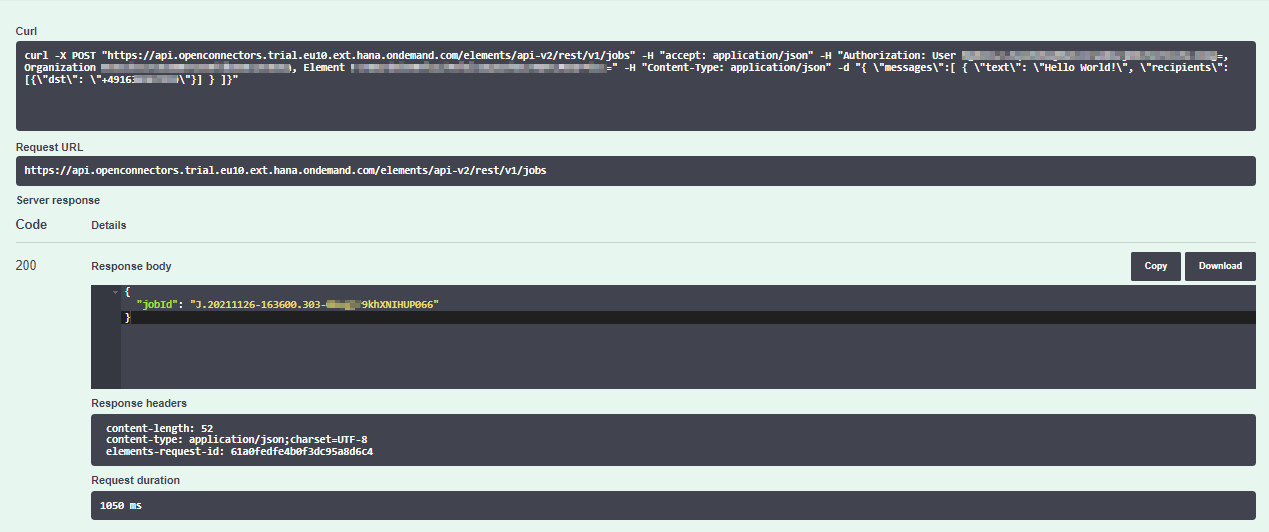
If the operation is successful, an OK/200 response is displayed, along with the Retarus SMS job ID. Consequently, an SMS is sent to the specified phone number.

The connector is now up and running and can be used by other integration consumers.
Tip: All SMS features described in the API Docs for Retarus SMS (REST) can be found in the Retarus documentation in the EAS portal.
If any concerns or issues arise, contact Retarus support and request assistance from an integration expert.